
Are you looking into starting an online business? If you answered yes, a digital agency business could be the perfect choice for you. With the right idea and a strategic digital agency website, you can work from anywhere and provide services to clients all over the world.
In this post, I’ll show you how to make a digital agency website and business. I’ll walk you through the entire process step-by-step. We’ll cover how to make a website, how to create your business plan, and how to market your digital agency so you can get clients and start making money. Let’s jump in!
Chapter 1: Make A Website
First things first, you have to make a website for your business. After all, without a website, how will potential clients find you? Your website is where you’ll share information about your services as well as make it easy for potential clients to get in touch with you and start working with you.
Step 1. Get Hosting and Domain
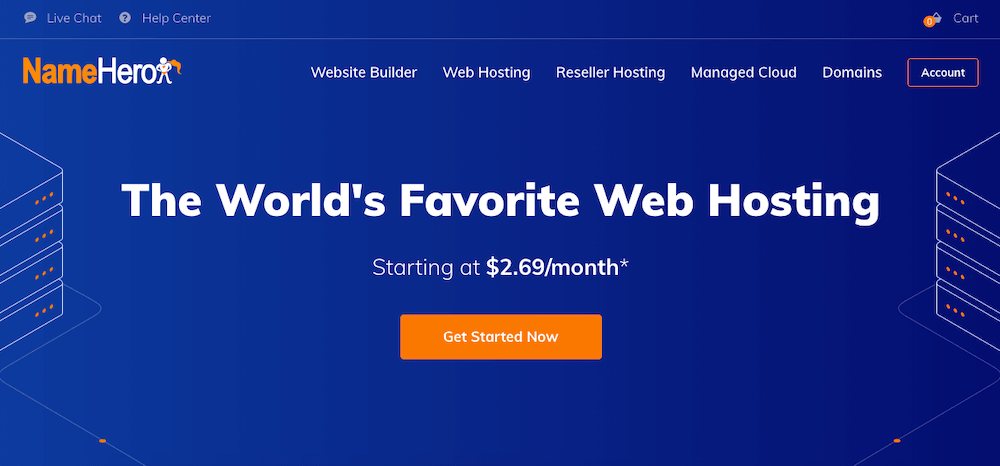
The first step in creating a website is to get a domain and hosting. In most cases, you’ll be able to get a domain name from the hosting company. I recommend you use your business name as your domain name to maintain brand consistency and look professional online.
As far as hosting goes, I recommend NameHero or Siteground. Both of these companies have fast loading times, great uptime, and good customer support.
Step 2. Install WordPress
Once you’ve signed up for your hosting plan, you’ll want to install WordPress. WordPress is the most popular CMS that powers 40% of all websites online. It’s easy to use and allows you to build any type of website. Best of all, it can be installed with a single-click.
To install WordPress, you’ll login to your hosting dashboard and look for a WordPress installer. Then, provide your site title and description, choose a username, and set a password that you’ll use to log in to your WordPress dashboard. Then press Install and wait for the installation process to finish.
Step 3. Download Essentials Theme
The next step is to actually design your website. I use the Essentials theme which is a premium theme with advanced features and a modern and professional design. It looks great and works with any style digital agency you want to create like an SEO company or a web designers agency. On top of that, it supports Elementor so you can build your website easily. You can get it from ThemeForest for $59.
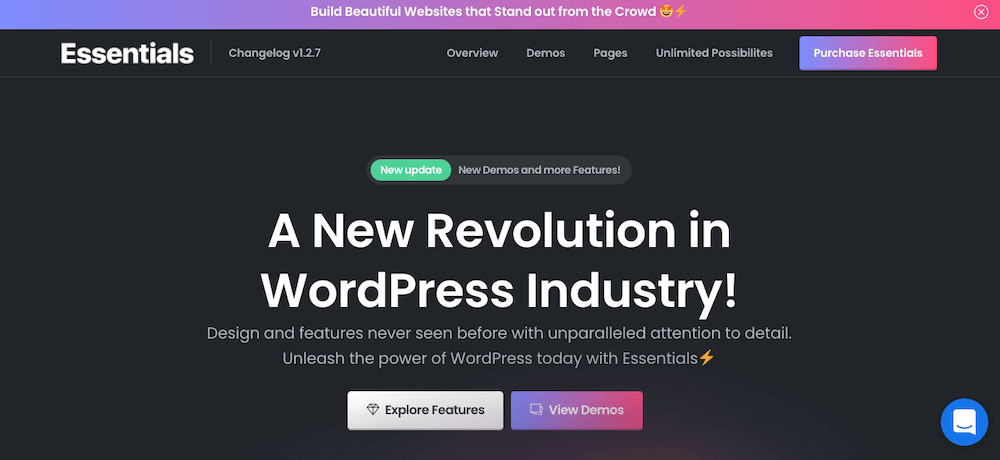
Once you’ve downloaded the theme, you’ll want to install it by logging into your WordPress dashboard and going to Appearance > Themes > Add new > Upload. After the theme has been installed , click the Activate button.
Step 4. Create Your Pages And Menu
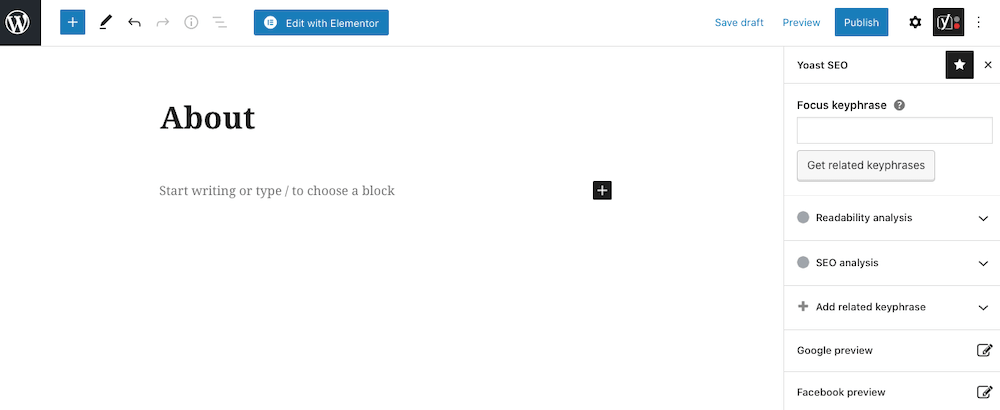
The next step is to create pages and menus for your website. To create a new page, in your WordPress dashboard go to Pages > Add new. Enter the name for your page, such as Home or About, and hit Publish. Then, repeat this process for all other pages on your site.
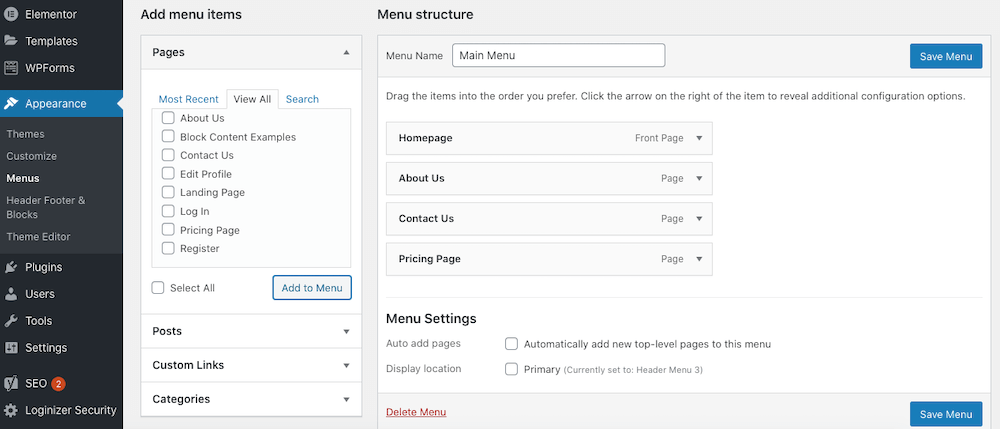
To create a menu, go to Appearance > Menus. Click on Create a menu and enter a name such as Main navigation or Menu. Then, use the panel on the left-hand side to drag the pages over to the menu. Assign the menu as the Primary and press Save.
Step 5. Design Pages
Now that the pages have been created and you’ve set up the menu, it’s time to design your website pages. You can use a page builder plugin like Elementor to easily drag and drop elements onto your page.
Alternatively, you can use one of pre-made demo templates that come with the Essentials theme.
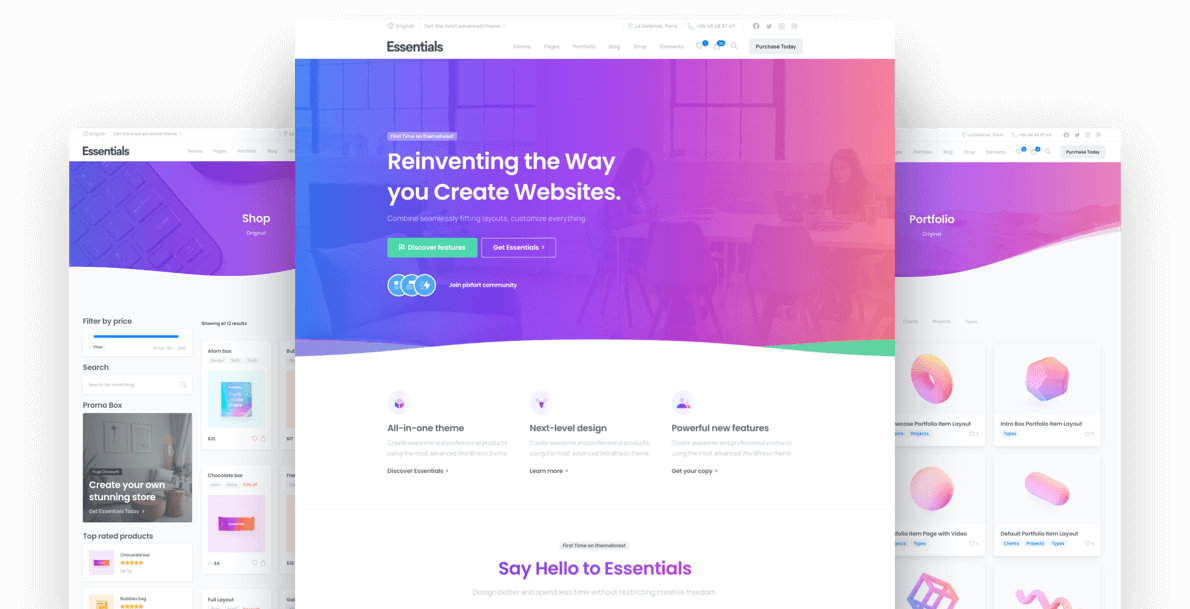
The premade layouts that come with the essentials theme are geared towards digital marketing or any style digital agency that you are planning to open. They look neat, creative, and will make your website stand out compared to other competitors.
Step 6. Use Header And Footer Builder
You can also use the header and footer builder to build out and customize those elements. You can include your logo, navigation menu, social media icons, and more to customize how your header and footer look like.
The Essentials theme also comes with pre-built header and footer demos that you can download and import to save time.
Step 7. Customize Your Website
Once you’ve designed the pages and set up the header and the footer, you need to customize your website. This includes changing colors, using your preferred fonts, uploading your logo, and more. The Essentials theme comes with both front-end and backend theme customizer and has tons of customization options to make your website look exactly the way you want it.
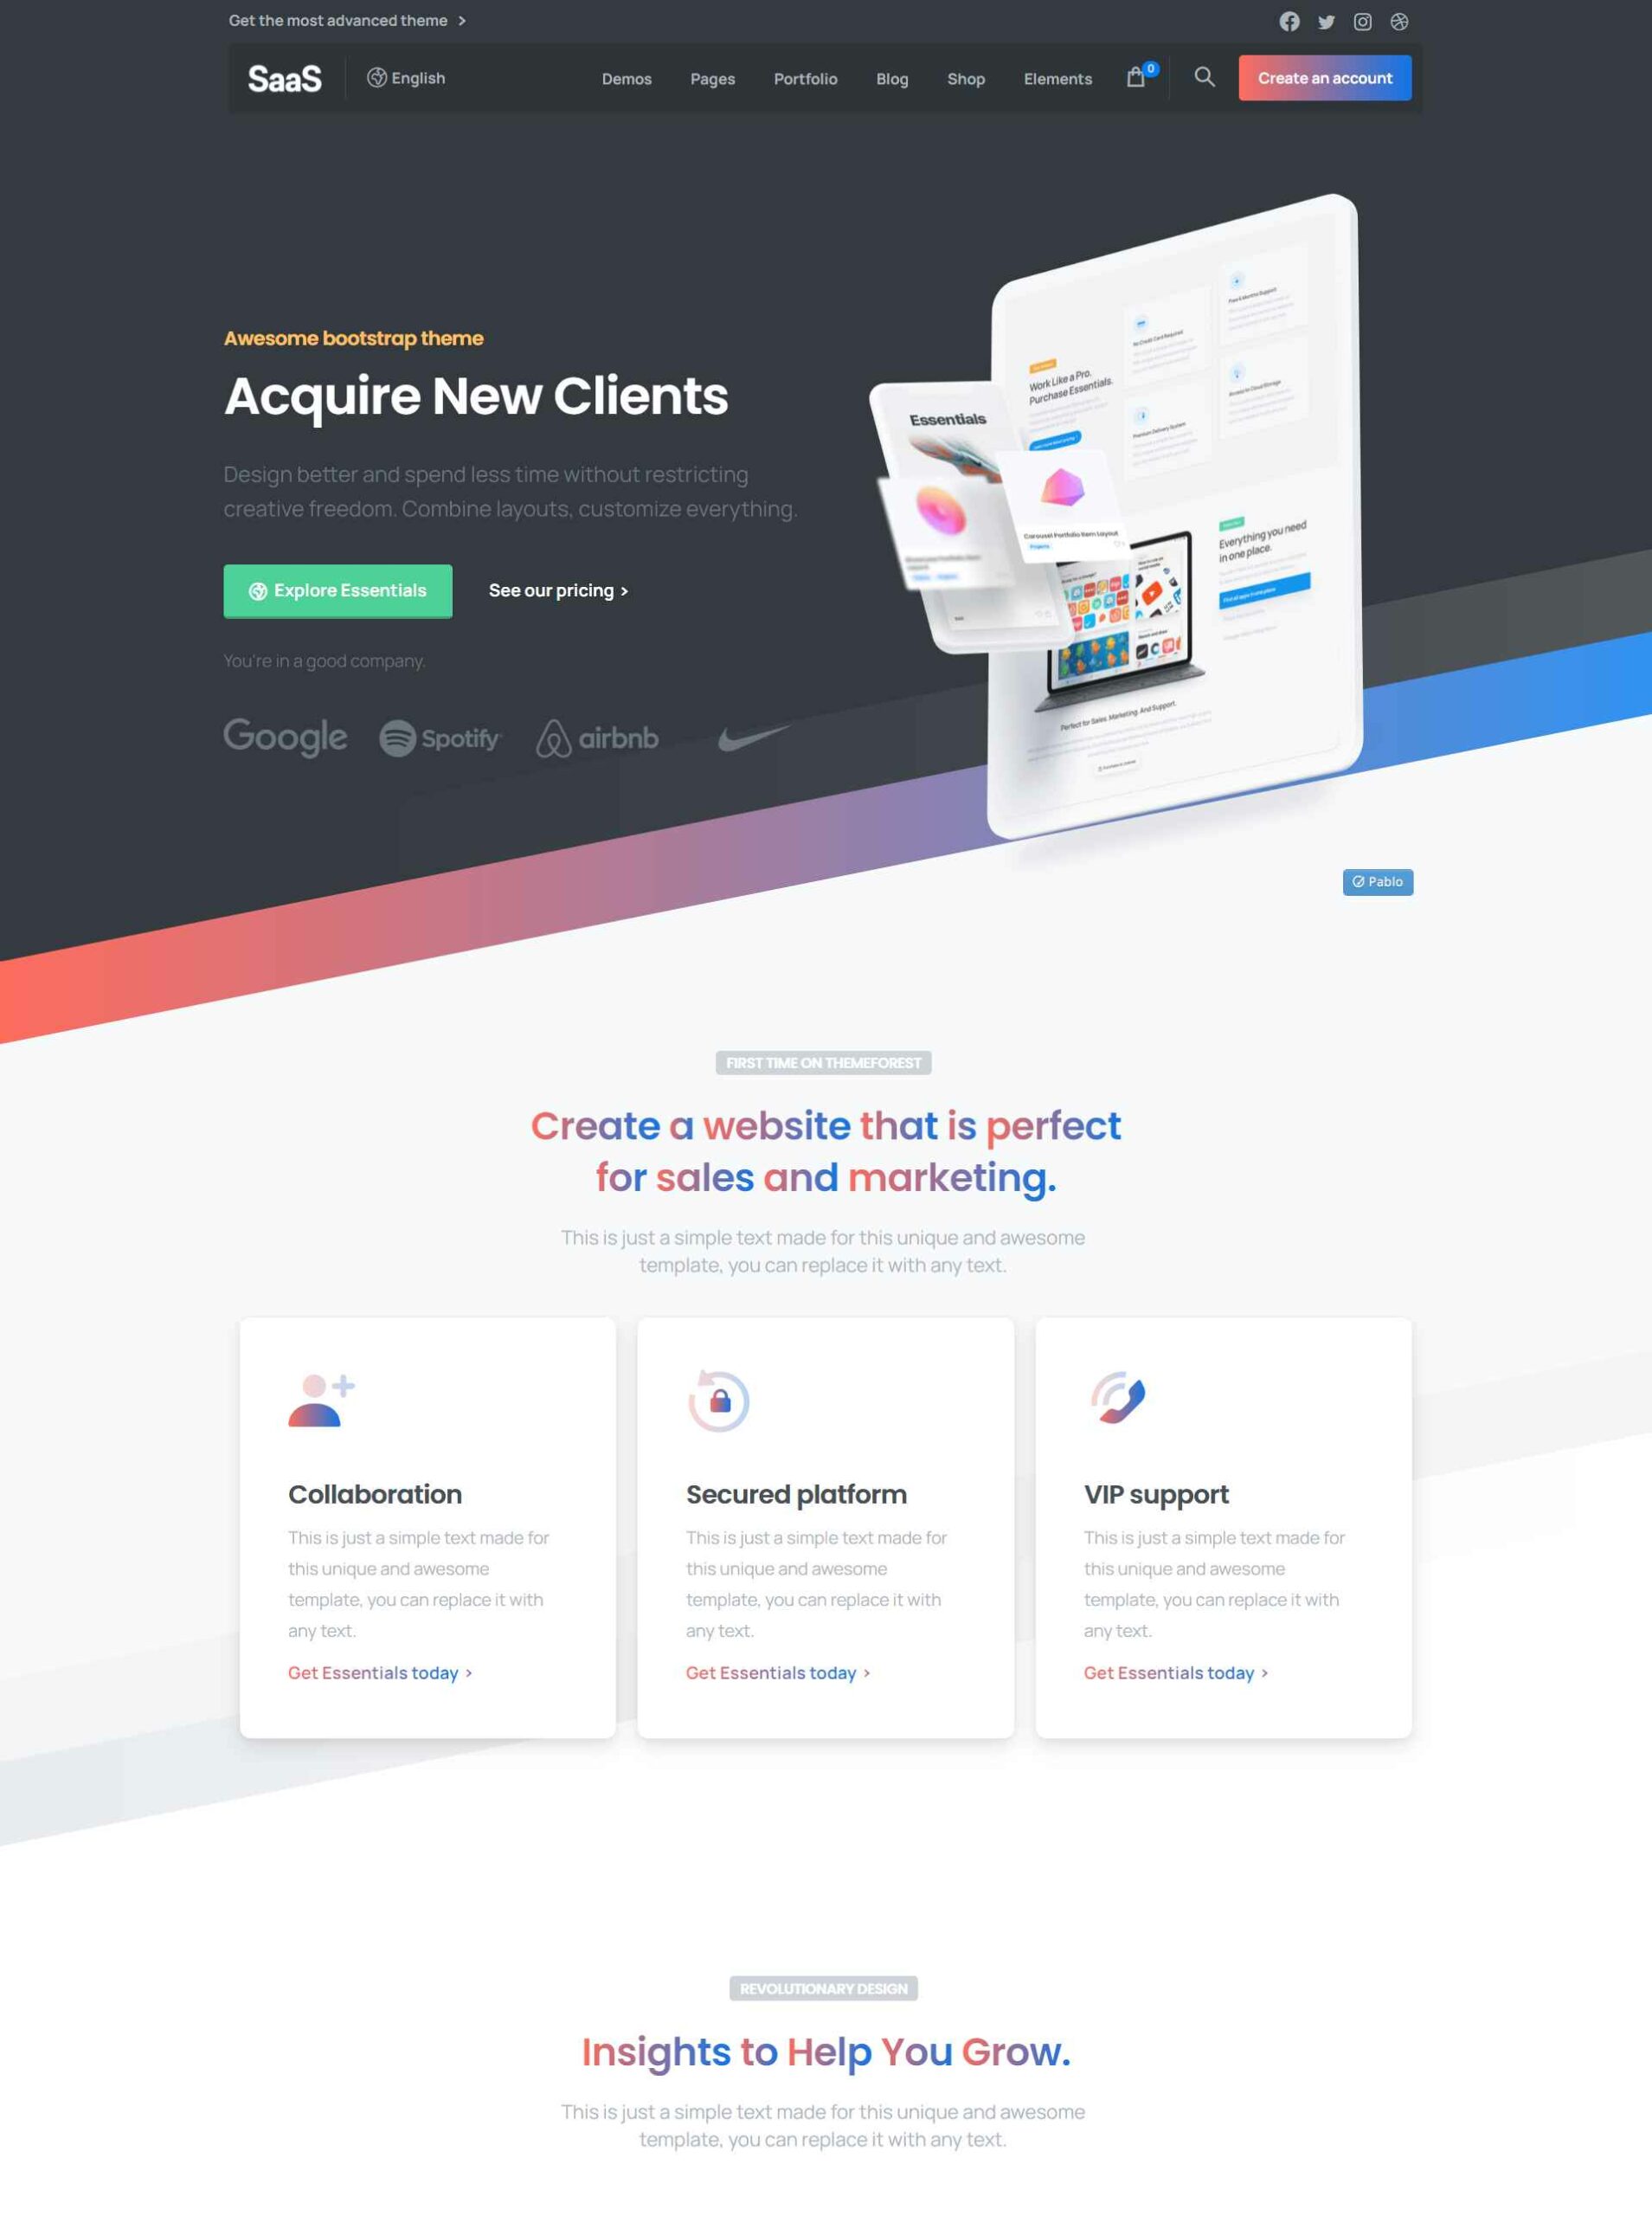
You can pick from various templates that can fit your design or style that you want to acheive for your new digital marketing agency. Doesnt this demo look amazing? Also, remember we are using the drag and drop page builder called elementor which allows you to build your wordpress website with ease.
Step 8. Include A Contact Form (Or A Cost Estimator)
Lastly, you’ll want to include a contact form on your website so potential clients can get in touch with you. A few popular contact form plugins include WPForms, Contact Form 7, and Gravity Forms. I really like a plugin called the cost estimator plugin which allows users to see how much your services cost.
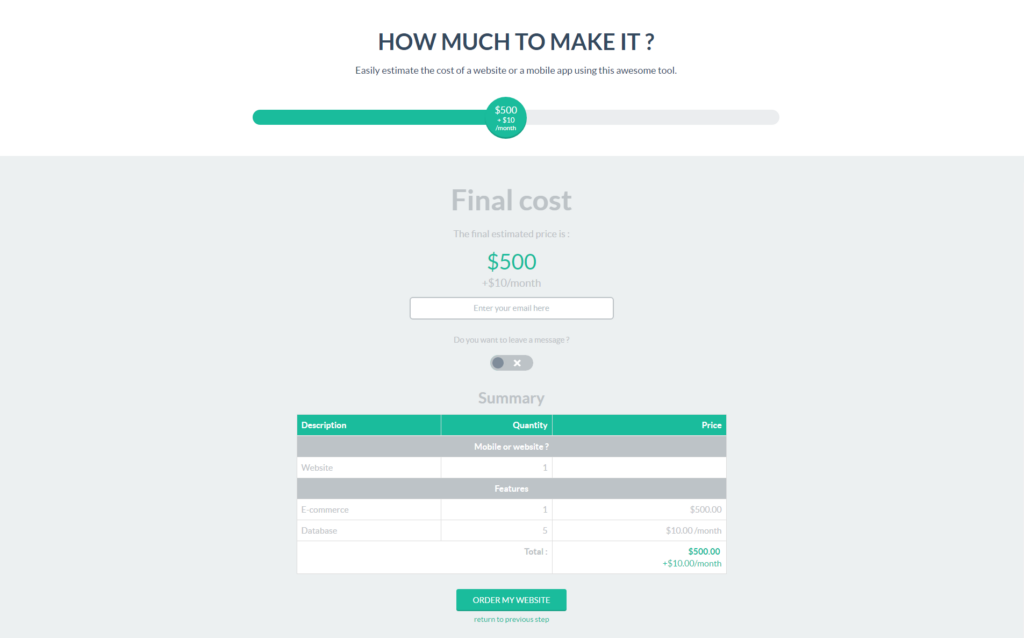
I personally like this plugin. It allows you to weed out clients that might think your digital marketing service is too expensive and can let people know a ballpark price of your services. It also takes credit cards and paypal. I do have a full video that covers how to use this plugin
You can also include a cost estimator so your clients can calculate the cost of their project and a lead generation form that is connected with a CRM app. Using a CRM (Customer Relationship Management program) allows you to keep track of your leads and follow up with them in a timely manner. You can use an excel spread sheet or ANY CRM software and i do highly recommend you do this.
Chapter 2: Create A Business Plan
Now that you have a website, let’s create a business plan around it. There are two ways to approach writing your business plan. You can create a detailed business plan which is better suited if you plan on seeking investors or getting a loan. This type of business plan usually has dozens or more pages.
Alternatively, you can create a lean startup plan which briefly summarizes the key points and elements of your plan. This type of business plan is typically only a page long.
If you opt for a detailed business plan, you’ll want to include the following sections:
- Executive summary — this is where you’ll include information about your company such as your mission statement, services offered, and basic information about your employees and location. ( What Do You Offer?)
- Company description — here, you can get into more details about your digital marketing agency and the problems it solves, businesses/clients it will serve, and your competitive edge. (Who Are You?)
- Market analysis — in this section, you’ll want to provide information about your competitors and their strengths and weaknesses (Why Are You Different?)
- Organization and management — in this section, share information about the structure of your company and who will run it (Who Does What?)
- Marketing and sales — use this section to outline and explain how you’ll attract and retain clients ( Create A Marketing Plan )
- Financial projections — in this section, provide information about how you plan to make money and how much do you expect to make in your first five years
- Customer relationships — here, you’ll want to describe your client experience and how they will interact with your business (Keep Your Customers HAPPY)
- Customer segments — in this section, you’ll describe various client personas that your business will serve
- Marketing channels — in this section, outline all the different marketing channels you’ll use to reach your clients (How Will You Market?)
- Cost structure — use this section to explain your pricing strategy and whether you’ll focus on reducing cost or providing the best value. You’ll also want to list your business expenses. (Think About Future Costs)
- Revenue streams — finally, describe how your digital agency will make money. For example, one-time services, retainer services, affiliate marketing, etc.
It’s worth mentioning that there is no wrong or right way to write your business plan, however, if you plan on asking for a business loan or getting funding, it’s worth opting for a traditional business plan and provide as much details about your digital agency as you can.
But, if you want something simple to use as a guiding principle, a one-page lean startup plan is all you really need.
Step 3: Create A Brand Identity (Important)
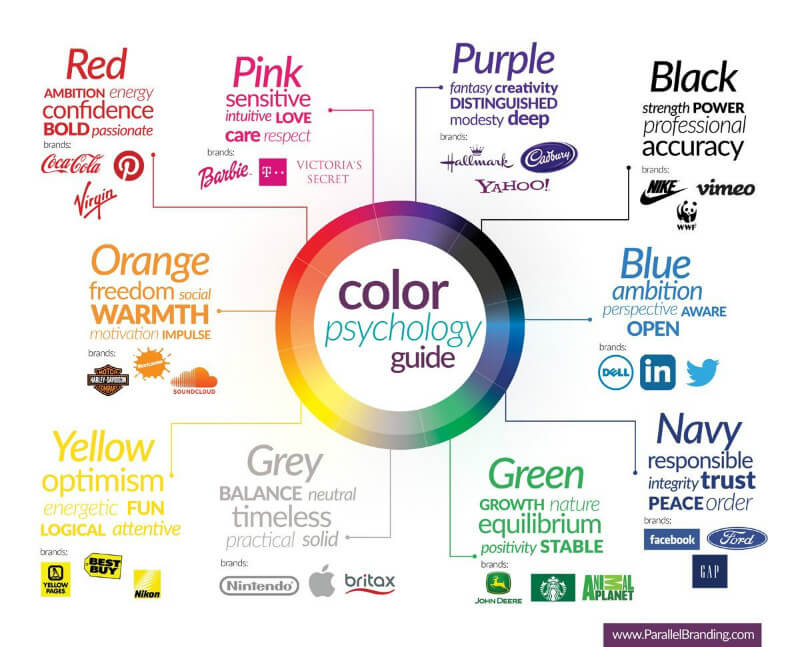
Your brand identity will serve as the visual representation of your digital agency. It will make your digital agency website more memorable and instantly recognizable in social media feeds and everywhere else online. Look at the above image, you can see how busines represents a specific niche and each business has chosen a color to help represent their business. Personally, i like red or a gradient for digital agencies because we are all about being creative.
When developing your brand identity, you’ll want to work on your vibe and style, choose the right colors, and select the fonts used on your website. Here are a few tips to get you started.
What Kind Of Customers Are You Trying To Attract?
Your vibe and style should be professional if you want your agency to be taken seriously. However, that doesn’t mean it needs to be boring. You’ll want to focus on how you want people to feel when they interact with your website and other brand touchpoints. It’s helpful to create a mood board for your brand. Use images and photos that represent the feeling you want to evoke in your customers. For example, your vibe and style could be one of the following:
- Cool and professional
- Laid back and casual
- Elegant and sophisticated
- Moody and vintage
- Hipster and minimal
Your vibe and style will dictate the rest of the branding choices, from your color scheme down to the fonts, and your brand voice.
Choosing Colors
Once you’ve decided on your vibe and style, you need to choose colors for your brand and website. This is another reason why putting together a mood board is helpful — you can use it to create a color scheme for your website.
One important note when it comes to choosing colors is to pay attention to color psychology. Colors have certain meanings and can even influence your conversion rate. Here are some common color meanings to keep in mind:
- Red — energy, excitement, power, passion, danger
- Orange — energy, happiness, joy, fun, determination
- Yellow — confidence, joy, optimism
- Green — growth, harmony, money, healing
- Blue — serenity, trust, logic, intelligence
- Brown — stability, strength, reliability, safety
- Pink — feminine, love, tranquility
- Purple — creativity, royalty, luxury, spirituality
- White — cleanliness, innocence, light, perfection
- Grey — formal, sophisticated, conservative
- Black — power, elegance, death, mystery
When choosing colors, you’ll want to keep your target audience in mind. For example, if you’re targeting a mostly corporate, male audience you wouldn’t choose pink or yellow. Similarly, if you’re targeting other small businesses that have a laid back culture, you wouldn’t necessarily choose corporate and serious colors.
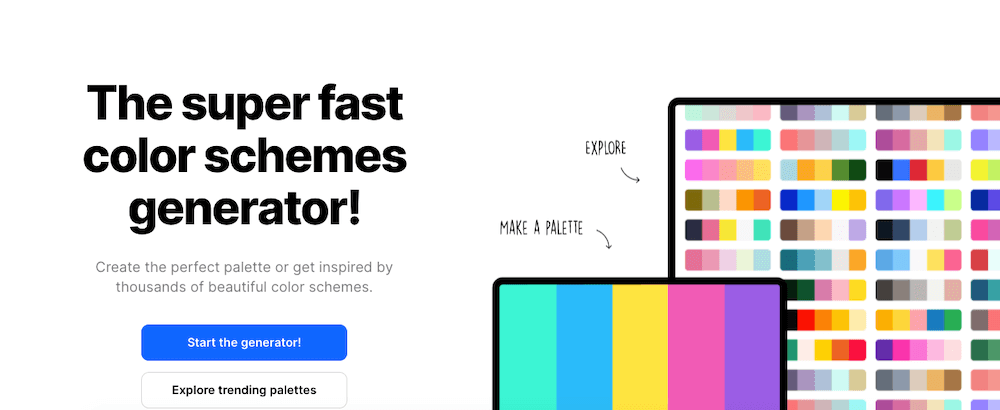
Another tip to keep in mind when choosing colors is not to go overboard. Choose one or two main brand colors, an accent color that goes well with your main color, and one or two neutral colors. You can use a website like Coolors to create a color scheme for your brand.
Choosing Fonts
Lastly, you’ll want to choose a set of fonts to use for your website and other branding materials. Fonts can be categorized as follows:
- Serif fonts have little feet on the end. They’re typically seen as elegant and classic. A few serif fonts include Georgia, Times New Roman, Playfair Display, Adobe Garamond, and Lora.
- Sans-serif fonts which don’t have feet at the end. They usually reflect a more modern look and feel and are associated with younger brands and companies. A few examples include Arial, Helvetica, Raleway, Lato, and Roboto.
- Script fonts exude elegance but depending on the style, they can also be seen as playful or romantic. Generally speaking, you’ll want to stay away from script fonts as they are hard to read.
- Display fonts command attention and give off a bold look and feel. A few examples include Abril Fatface, Algerian, Caslon Antique, and Cooper Black.They are intended for large headings and posters. You’ll want to use them sparingly as they can be overwhelming.
There’s a whole science behind pairing fonts but a few tips to keep in mind include:
- Stick to one or two fonts
- Pair a serif font with a sans-serif font for more variety and contrast
- Assign a specific role to each font eg. sans-serif for body text, serif for headings, sans-serif for navigation and buttons.
- Experiment with font weight to create a nice hierarchy
Step 4: Decide On Your Ideal Client
There is no problem with offering cheap websites or custom made expensive websites. But WHO ARE YOU TARGETING, is the most important question.
Think about it, give it some time. These questions i am asking you are important but you need to make it clear what kind of service you are offering and what kind of audience you are looking for.
Once you’ve developed your brand identity, you need to decide who your services are for. Who you are marketing your business to? Your marketing and your offers will look different whether you’re marketing to corporate clients, regular customers or other small businesses or medium class clients.
In other words, you need to create a customer persona. You’ll want to define their age, income, level of education, where they live, where they shop, and where they like to spend their time online.
Next, you’ll want to focus on their problems and what is the final moment when they decide to find a solution for their problem. Then, you’ll want to position your services as the perfect solution for their burning problem.
You can use a tool like Xtension to develop a customer persona using one of their free templates.
Step 5: Develop Your Services
The next step is to decide on what services will your digital agency offer. A few popular choices include web design services, SEO, content marketing or digital marketing which includes social media, ads, and email marketing.
DO NOT OFFER TOO MANY SERVICES. The biggest problem with this approach, is that customers may feel that your service is not for them because its overwhelming. Instead, focus on 1-3 services that correlate too each other.
Good Example: if you are a web designer, you may want to offer an SEO package that comes with their website.
BAD Example: If you are a digital marketing agency, offer a computer repair service package.
While it might be tempting to offer everything in the hopes of making it big, don’t fall into this trap. When you offer everything under the sun, people tend to see you as Jack of all trades and aren’t willing to pay a premium rate.
On the other hand, focusing your services on one or two areas of expertise will position you as the true expert and allow you to charge a premium rate.
Step 6: Decide On Your Pricing Model
Here is a small video on pricing. Although I do talk about web design, you can use these pricing models for virtually any agency.
When it comes to pricing your services, choosing the right pricing model can be tricky. Generally speaking, you can choose between pricing hourly, having a fixed price or offering a combination of fixed and hourly rate, depending on the service and the project at hand.
Both hourly pricing and fixed pricing have their own set of pros and cons. When it comes to hourly pricing:
- You’re limiting your earning potential as there’s only so many hours in the day
- Clients are skeptical about hourly pricing because estimating the correct number of hours needed to get something done is not always easy
- Client work and running an agency involves non-billable hours which again limits your earning potential
When it comes to fixed pricing, consider the following:
- It’s hard to pinpoint a fixed price when the requirements aren’t clear
- You could be grossly undercharging for a project that turned more complicated than initially anticipated
- Fixed pricing maximizes your earning potential
Opting for a combination of hourly and fixed rate is a happy medium between the two. You might want to stick to hourly pricing in the beginning until you start to get a better feel for what each project will require. You can then adjust your rates accordingly and figure out which projects are better suited for fixed pricing and which ones are better to be priced hourly.
Step 7: Choose A Legal Structure
Before you launch your agency, you need to choose a legal structure for your business. These include:
- LLC
- S Corporation
- C Corporation
- Sole Proprietorship
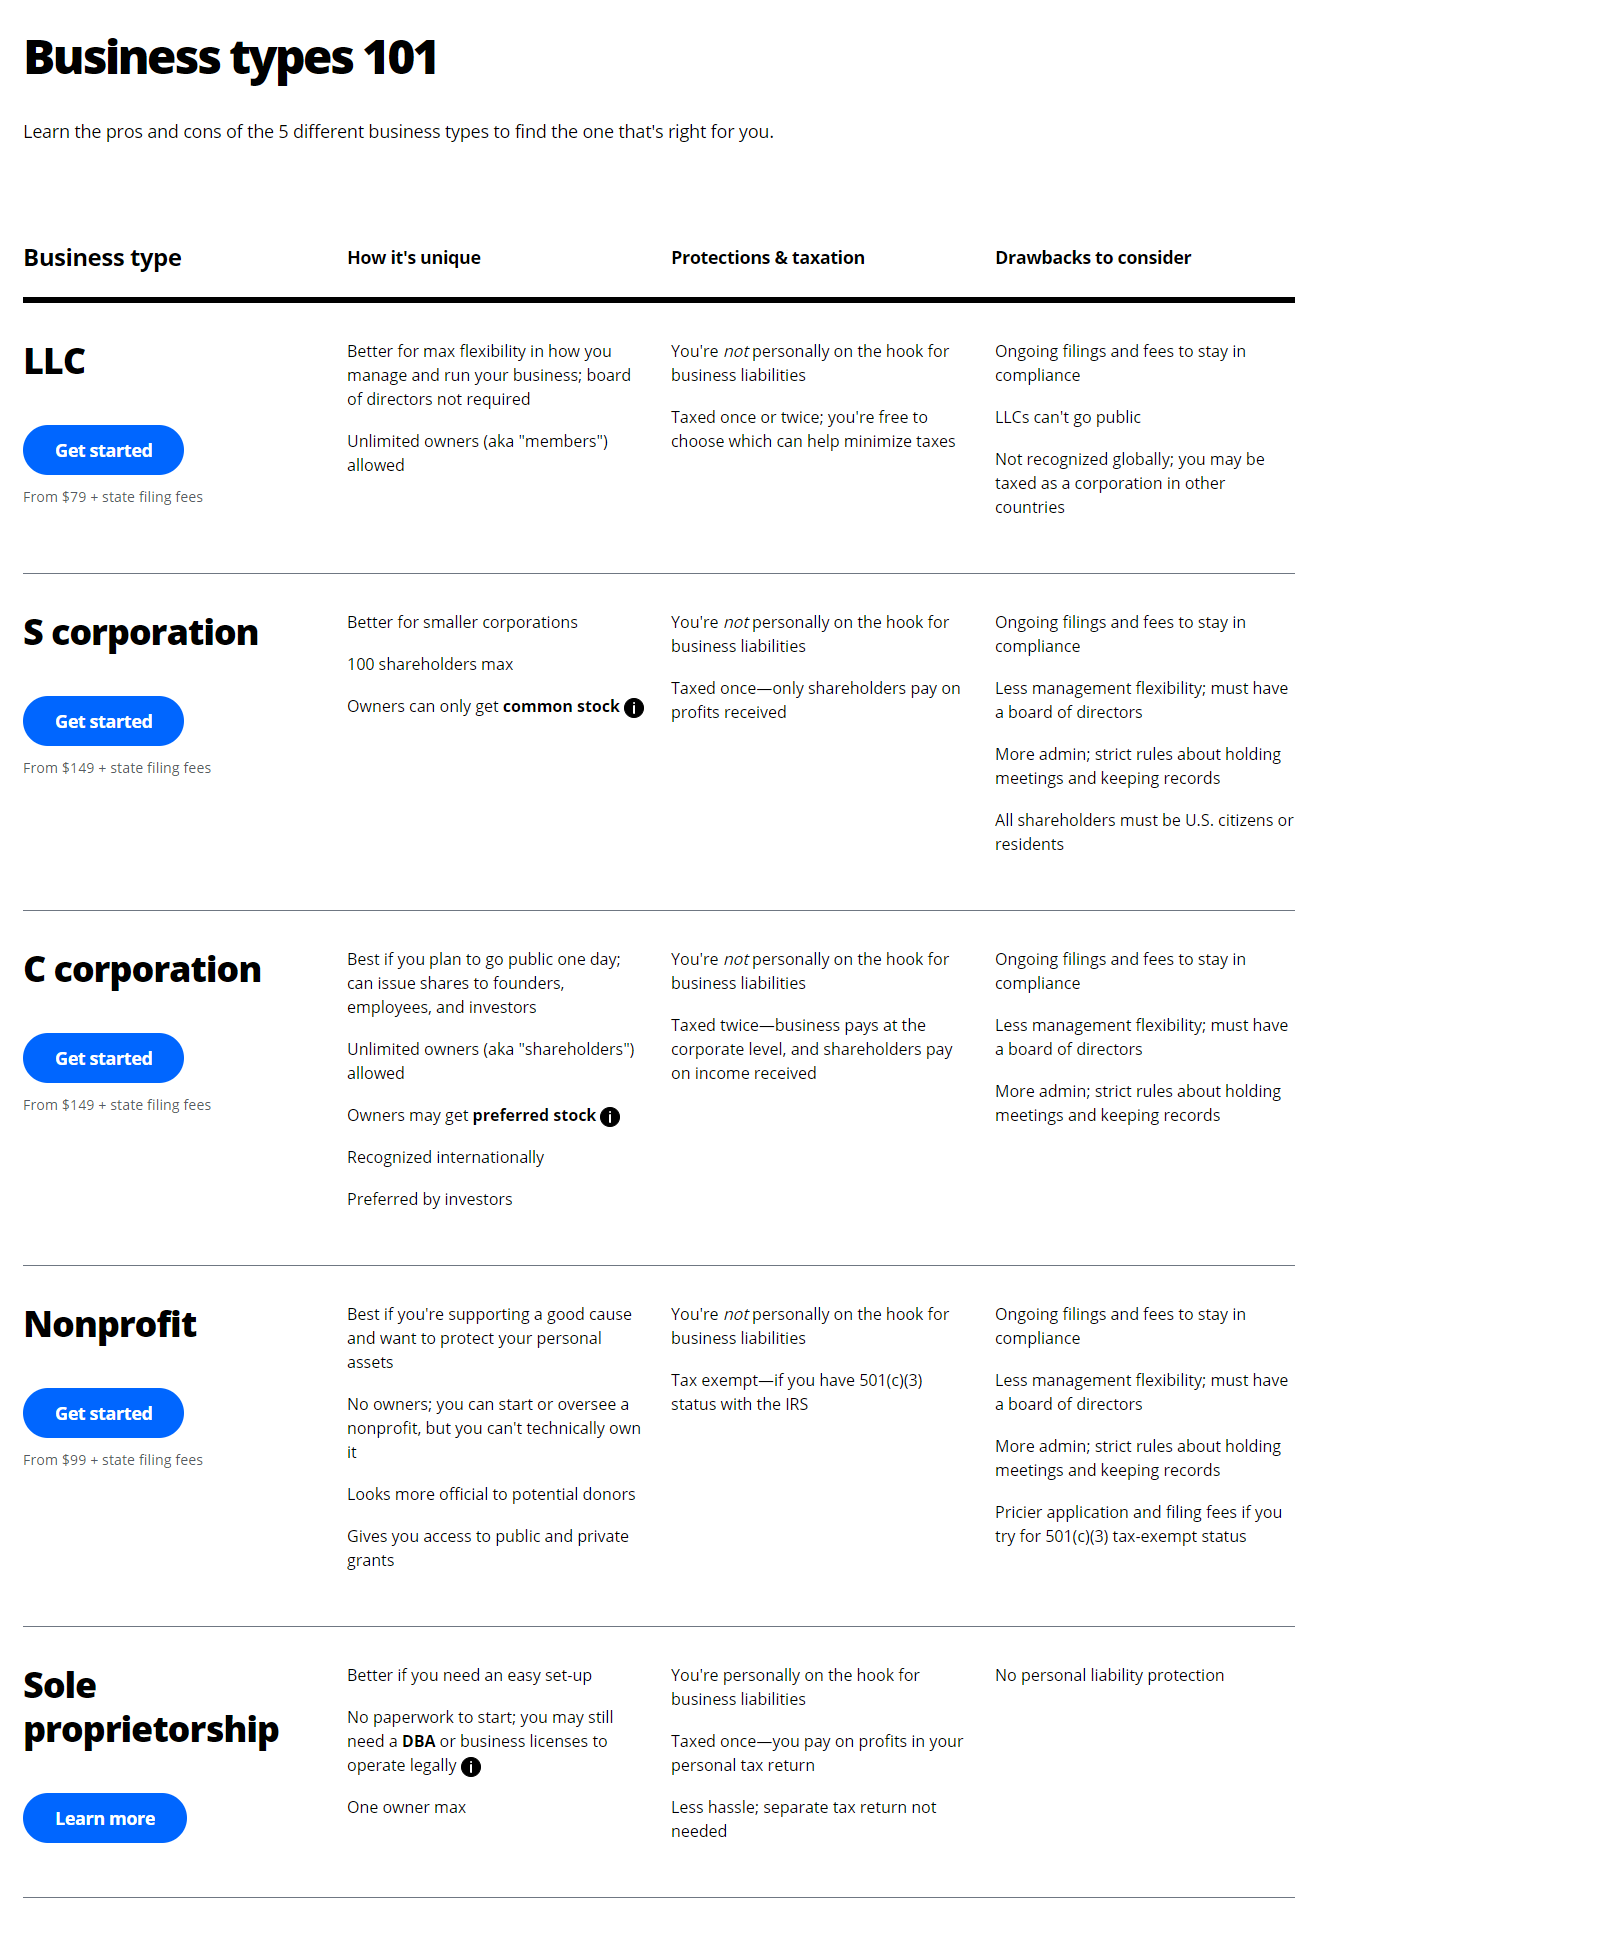
Each of these has different tax, legal, and registration requirements. For example, a sole proprietorship doesn’t require any paperwork to start but you might need to register a DBA or an appropriate business license to operate your business legally.
The sole proprietorship also means you’re personally responsible for business liabilities but you don’t need to file a separate tax return.
C Corporation and S Corporation are better suited if you plan on going public and selling company shares. You’re not personally liable for business liabilities but you need to have a board of directors which means your agency is going to be less flexible in terms of management. You also pay taxes once or twice, depending on the type of corporation. Both C Corporation and S Corporation are recognized internationally, if you plan on going global.
Finally, an LLC is a good choice if you’re getting started and want your agency to be on the smaller scale. You pay taxes once or twice, depending on which option allows you to pay less in taxes. You don’t need a board of directors but you do have to deal with ongoing filing fees to stay compliant.
Step 8: Hire Help
When you first start out with your agency, you might be able to handle all the workload yourself. But as you start to grow and you get more clients, it’s a good idea to hire help. This will free up your time so you can focus on marketing and promotion while your freelancers handle the client workload.
On top of that, you’ll be able to take on more clients and deliver results to your clients faster than you could on your own.
You can use services like Freelancer to find other freelancers who are looking for work. Alternatively, you may want to outsource your work overseas to keep the costs low.
Step 9. Setup Payments
No matter what kind of services you offer and how you charge for them, you’ll need a way to collect payments from clients. For this, you’ll need a good merchant account that allows you to take credit card payments.
My personal recommendations include Stripe, Authorize.net, and Paypal. Stripe and Authorize.net allow you to easily collect credit card payments and will deposit the money into your business checking account.
Paypal allows you to take both Paypal and credit card payments and you can withdraw money to your bank account easily. It’s a good idea to offer both credit card payments and Paypal as different clients will prefer different payment methods.
You can also use invoicing services like Hello Bonsai or accounting software like QuickBooks and send invoices to your clients which they can then pay using their preferred payment method.
Step 10. Create Proposal And Contract Templates (Important)
Contract is one of the most important pieces of paperwork you can have when it comes to working with clients. A contract protects you as well as your clients from any legal problems. Not to mention, it can also work in your favor should you ever find yourself getting sued by the clients.
Aside from a contract, you’ll also want to create a proposal template that outlines the scope of work and provides an estimate to your clients. A template will save you a lot of time as you won’t have to recreate it from scratch for each and every client. Instead, you can create it once and then customize it quickly with client details.
I personally use and recommend Proposable. Proposable protects against chargebacks and commits clients. It allows you to send proposals which clients can then electronically sign to signify their acceptance. You can also accept payments with Proposable.
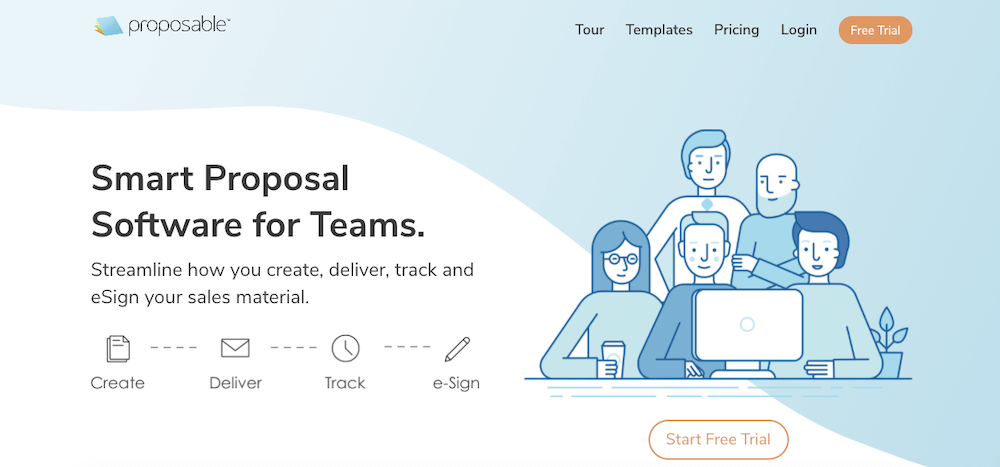
A few other options for creating proposals, sending contracts, and accepting payments include 17Hats and PandaDoc
Step 11: Start Marketing
Now that your agency is all set up, the last step is to start marketing your business. There are physical ways to market your business and digital ways to market your business. Let’s go over those options below.
Physical Ways To Market
Here are a few ideas for how you can market your agency when you’re just getting started.
- Tell your friends and family — don’t be scared and think that they will laugh at you. You never know who might need your services, plus, even if they don’t need it personally, they might know someone who does.
- Attend events — if you’re working with WordPress, WordCamps are a good place to find clients. You can also attend local neighborhood councils and get involved in your community.
- Visit your local restaurants and other businesses and ask if you can leave your business cards. – Consider working out an exchange deal with them. For example, they get a discount or you can design a logo for them or write their press release.
- Tell your local establishments such as churches and non-profits about your services. – Remember that people would rather work with someone they know and trust rather than complete strangers
- Get testimonials – from each client and use them on your website as well as on your social media profiles
- Ask existing clients for referrals. – Referrals are often the #1 way to get more clients so consider setting up a referral program
- Create a portfolio – to show potential clients what you can do.
- Use cold calling and cold emailing to reach out to potential clients and offer them your services
- Run GTMetrix scan – if you're a web designer, run this scan on prospective clients’ websites and share the report with them. Then talk about how you can help them improve their score.
Digital Ways to Market Your Business
Aside from offline or physical marketing, don’t forget to market your business online. You can generally divide this into short term marketing activities and long-term marketing activities.
Short term marketing activities include:
- Adding your location on Google Maps so local users can find you and it helps with your website SEO
- Get active on relevant social media platforms
- Add your website on Jabber and TrustPilot and ask your clients to leave a review
- Create a listing on Yelp and ask for reviews
- Create A Yellow Page, UpCity, Thumbtack And Directory Websites
- Get in touch with your city council or Chamber of Commerce and ask them to be listed
- Look for clients on Craigslist. You’ll want to look under Jobs > Web/Info Design. You can also post in Services > Small Business Ads.
- Post web design or any other tutorial on Youtube and on your website. This will build your authority and people trust authorities
- Create and answer questions on Quora or Yahoo and introduce your company
- Join Facebook groups and forums in your niche and provide valuable information
- Add your website on Angie’s List
- If you’re a web designer, look for old websites on the internet, contact the owner, and show them how you can make it better
- Create a clean email signature and include it at the bottom of every email
Long term marketing activities include:
- Facebook ads which can work well if you’re targeting cities as it helps with local SEO
- Hire an SEO company to help you optimize and improve your website for the search engines
- Use marketing websites like DNB.com which helps find certain businesses
- If you’re a web designer, start googling websites in your chosen industry and look beyond page 3
Content Marketing
Content marketing is hands-down, one of the best ways to market your business. For starters, it allows potential clients to find you organically. Secondly, it helps with SEO as search engines love websites that are updated on a regular basis. Thirdly, it establishes you as the expert in your industry.
You’ll want to write blog posts on web design or your agency topics. Create educational information that provides value for your potential clients. A few tips for writing successful blog posts include:
- Write longer content as it ranks better in search engines
- Use keywords in your article but don’t go overboard. If your keyword density is more than 4%, Google will see this as keyword stuffing and penalize your website
- Add alt text to images to help them rank in search engines
- Use proper formatting and break up your text with headings and subheadings
- Interlink your articles
- Link to external sources to backup your main topic
You can also outsource your content writing and use a service like iwriter.com to write your blog posts.
Once you have your blog posts, start sharing them online to create your social presence. Create a Facebook page for your agency as well as a Twitter and LinkedIn account and post consistently, week after week.
Marketing Tips
Before we wrap up this article, here are a few tips to keep in mind when it comes to marketing:
- Use an Excel or Google Sheet to keep track of your leads. Then, remember to follow up
- If you get a no, don’t take it personally. This is business and rejection comes with the territory
- If you’re a web designer, some of the best clients are attorneys, doctors (especially dentists), construction companies, realtors, gyms, and laptop and phone repair shops.
Final Thoughts
Starting a digital agency website and business is a great way to make money online. If you’re interested in starting an online business, simply follow the steps laid out here to launch your marketing or design business. Good luck!